Product Overview
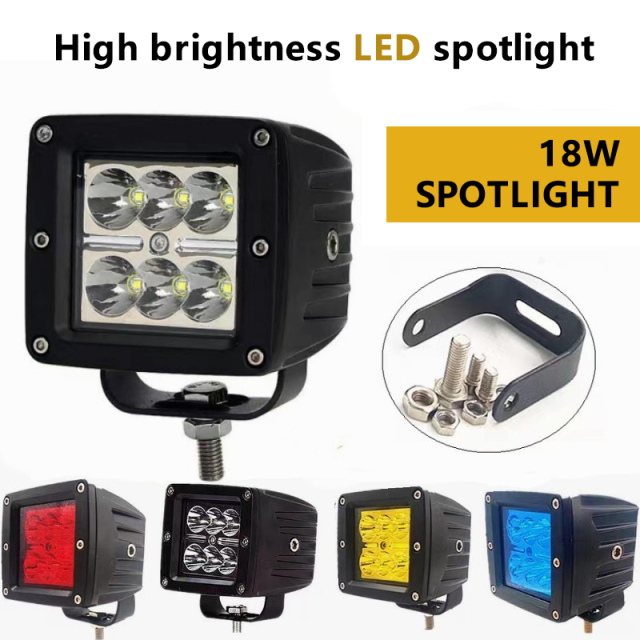
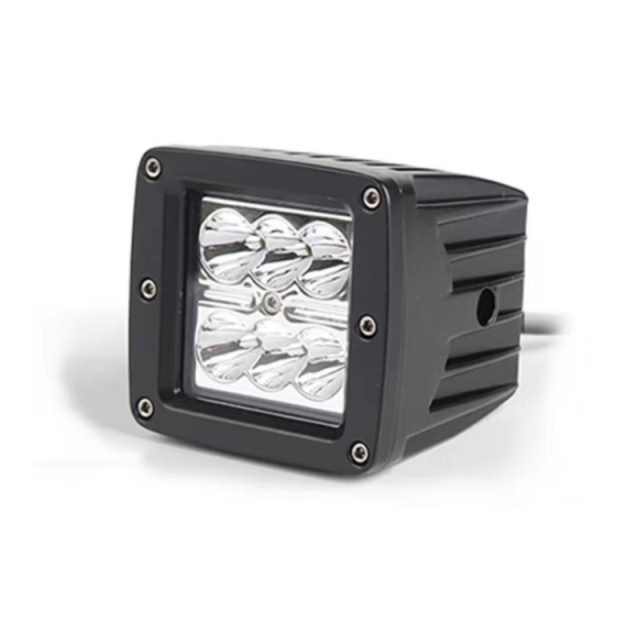
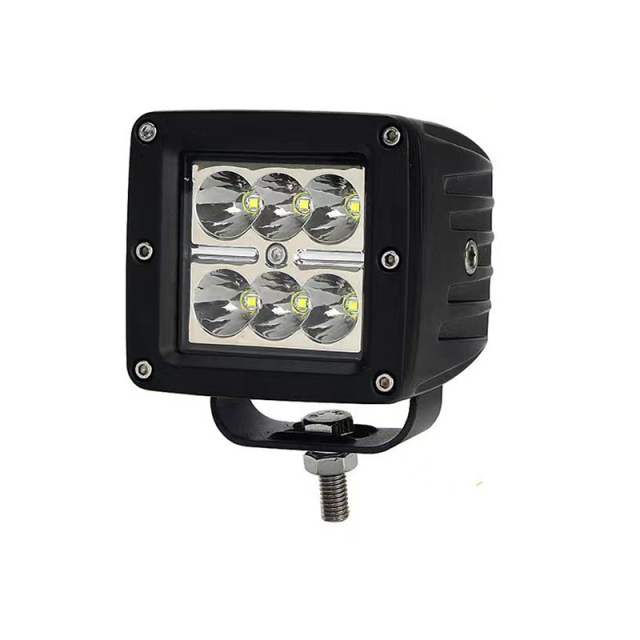
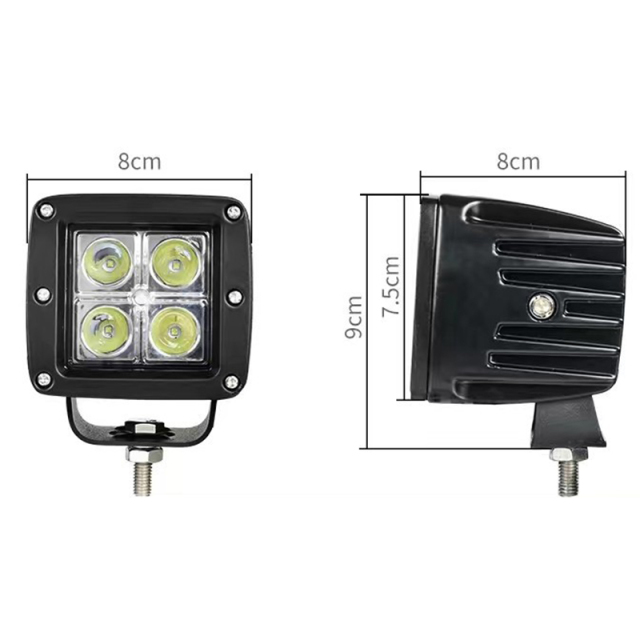
JOPOWER's square CREE work light is a single spot-beam pod: a die-cast aluminium body, a clear lens over an array of CREE LEDs, a cable leaving the back and a U-shaped bracket with slotted holes. It is the shape installers reach for on a 4x4 off-road lights build that needs reach rather than spread — the spot lens pulls the output into a long, narrow throw, which is exactly what most buyers of led off road lights are trying to add to a dark trail or an unlit service road. Parts shops, 4x4 workshops and accessory resellers carry it as a stock line, and it also goes out to off road led light bar suppliers, distributors and repair garages that want one dependable pod to build a lighting range around. What it replaces is the unbranded pod that fogs up after a wet season, or the old halogen spot that pulls more current than the alternator enjoys. For a shop, that is the sort of part that sells again next season instead of coming back as a complaint.
Beam Pattern & Light Output
- Spot beam, long throw. The lens concentrates output into a narrow beam that reaches well past the front of the vehicle. That makes it the right choice for speed and distance, and the wrong choice if you want to light the ground two metres in front of a bumper.
- Aim matters more than chip count. Park on flat ground, loosen the bracket and set the hot spot just below the horizon. A spot aimed high throws glare into mirrors and cab glass, and it is the fastest way to make a good lamp look bad.
- Designed to be run as a pair. Two pods at the same height, angled slightly apart, cover the road width while keeping the centre bright — the way most led driving lights are actually fitted to a vehicle rather than singly.
- The chip position stays put. The LEDs sit on a board screwed into the housing, so the beam pattern does not wander after months of washboard roads and potholes.
- Long routes suit a spot. On truck driving lights, reach is the whole point: a spot lets a driver read the road and the verge at distance, while a flood is better left for yard work and low-speed manoeuvring.
- One spot plus one flood. If a vehicle does both — highway at night, site work in the morning — a mixed pair gives distance and close-range coverage from the same mounting points.
Housing, Sealing & Heat
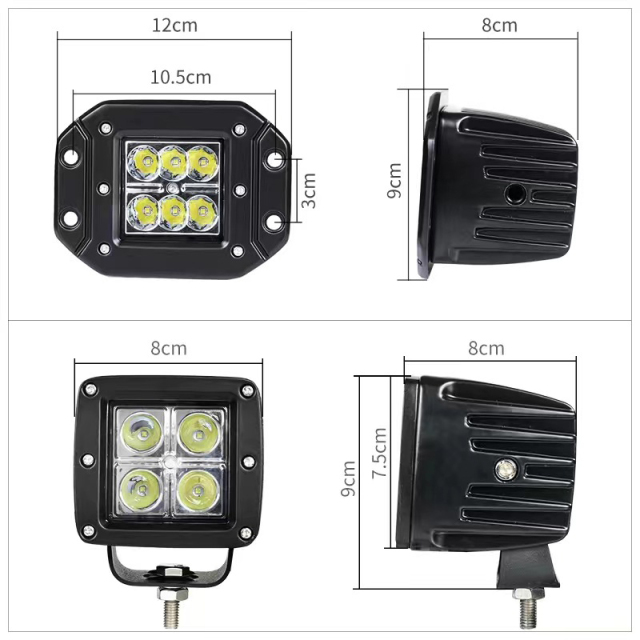
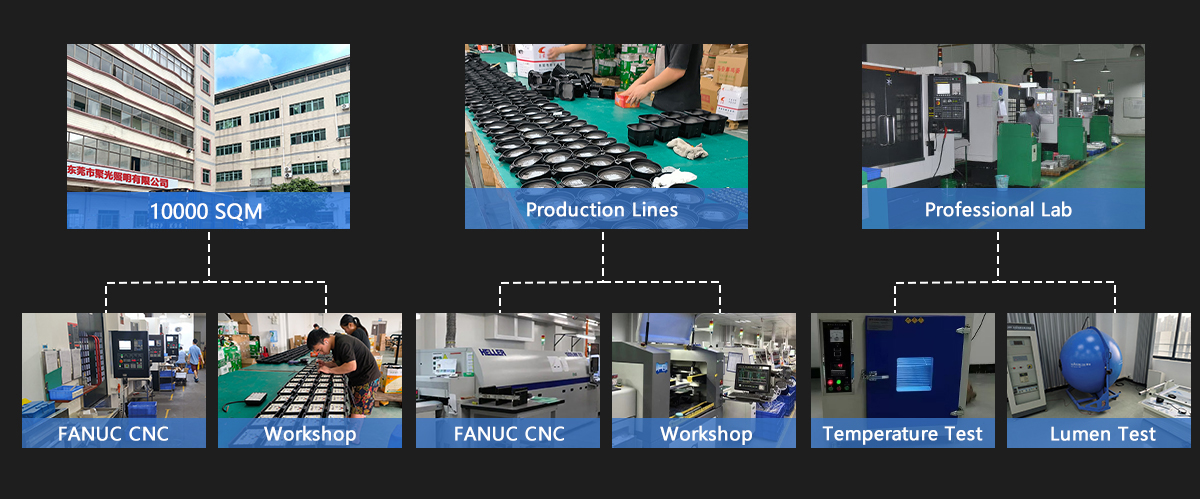
The body is die-cast aluminium rather than pressed steel or plastic, and the sides are ribbed. Those ribs are not decoration: they add surface area so heat from the LEDs moves into the housing and away, which keeps output steady through a long night instead of fading once the lamp warms up. The lens sits against a sealed front frame held by bolts, and the cable leaves through the back of the housing, so water running over the pod has nowhere to sit. For led off road lights sold into wet or dusty markets, that is the difference between a lamp that keeps its clarity and one that fogs from the inside after a season. Finished in matte black with a clear lens and rounded corners, the pod reads as a plain, purposeful part that disappears into a bumper rather than shouting about itself. Aluminium also holds up where salt and grit do the damage, which matters for the coastal and winter markets off road led light bar suppliers sell into. Each design goes through temperature and salt-spray checks in the factory's own laboratory before release, and the sealed lens means mud and road spray wipe off instead of working into the reflector. Mount it where air can move across the ribs; tucked behind a solid grille insert or wrapped in foam, the housing has nowhere to shed heat.
Mounting & Cable Routing
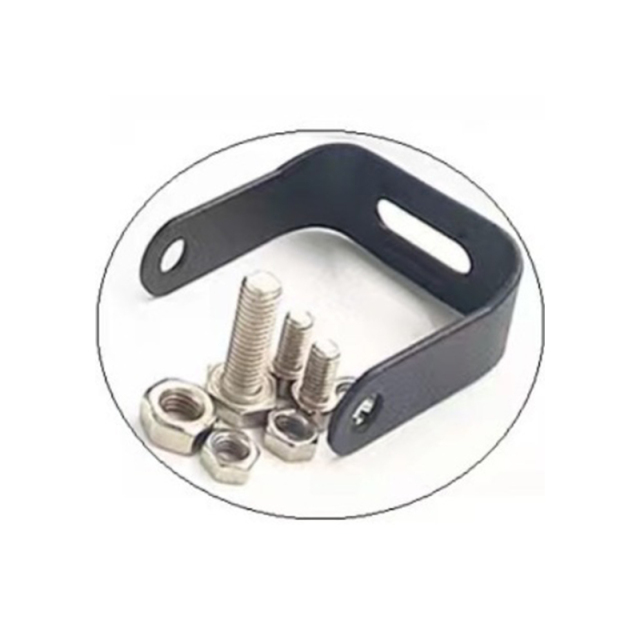
- Offer the bracket up first. The U-shaped bracket has slotted holes, so you can set the angle roughly before the bolts are tight; the bolts and nuts come with the lamp, so there is no trip for hardware.
- Choose a position with room behind it. Bumper, bull bar, front rack, A-pillar or roof rack all work, as long as the body clears the grille and there is space for a spanner behind the bracket. On most 4x4 off-road lights builds, the bull bar or A-pillar gives the cleanest aim and the shortest cable run.
- Set the angle on flat ground. Aim the spot just below the horizon, tighten the bracket, then check the beam from the driver's seat before the wiring is finished.
- Route the rear cable with a drip loop. Keep it clear of hot exhaust parts and moving suspension, tie it at intervals, and seal the point where it passes through a panel.
- Bring power in properly. Feed the pod through a relay and an inline fuse matched to the load, and take the relay trigger from a switched circuit so the lamp cannot be left on by accident.
- Plan high mounts differently. A roof rack or headache rack position for truck driving lights needs a longer, better-supported cable run than a bumper mount, and the higher the lamp sits, the more carefully it has to be aimed.
- Test it under load. Run the pair for a while after dark, check for flicker, heat at the connections and any water entry at the cable exit, then re-check the aim with the vehicle loaded.
- Inside the carton: the spot pod, its U-bracket with slotted holes, the bracket bolts and nuts, and a rear cable already sealed into the housing. A plain white carton with a foam insert holds it as standard; a printed carton takes your artwork on a branded run.
- The vehicle side is yours to source: relay, inline fuse and holder, dash switch, and the cable from battery to lamp. Current draw and dash layout vary too much between vehicles for one kit to fit them all.
- Rate the relay and fuse for the pair of led driving lights, not the single pod. Add the current of both lamps at the vehicle's charging voltage, choose components above that figure, and keep the fuse within a short cable run of the battery.
- Pick a switch that suits the dash. An OE-style or rocker switch looks factory-fitted, and taking the relay trigger from a switched circuit stops the pods being left on in a car park.
- Cable and connections: use cable rated for the load and for engine-bay heat, crimp terminals properly, cover joints with heat-shrink, and fit a grommet with a bead of silicone where the cable passes through metal.
- Tools worth having on the bench: a spanner for the bracket bolts, a drill and step bit for the mount, crimpers, a multimeter, and a torch for checking the aim after dark.
- On 24V machines, the pod is the same part, but the relay, fuse and switch all have to be rated for the 24V system rather than borrowed from a 12V kit.
- Tell us what you are fitting. Give your sales contact the vehicle type and system voltage, and we will confirm which wiring parts, switches and spare bracket hardware can travel on the same order — the usual additions when a shop builds a custom off road lights package.
Vehicle & Equipment Fitment
| Vehicle or equipment | Where the pod goes and what it adds |
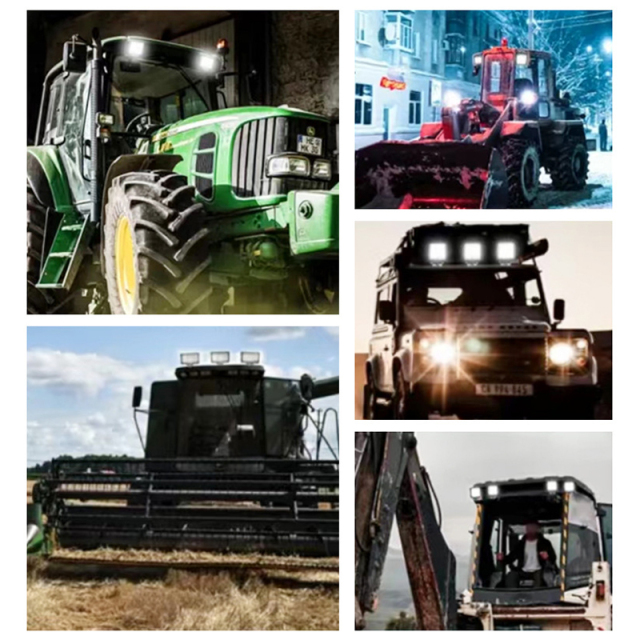
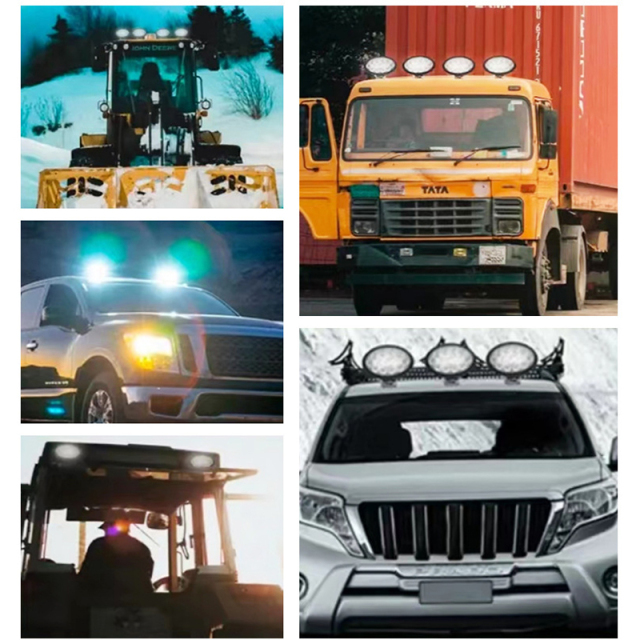
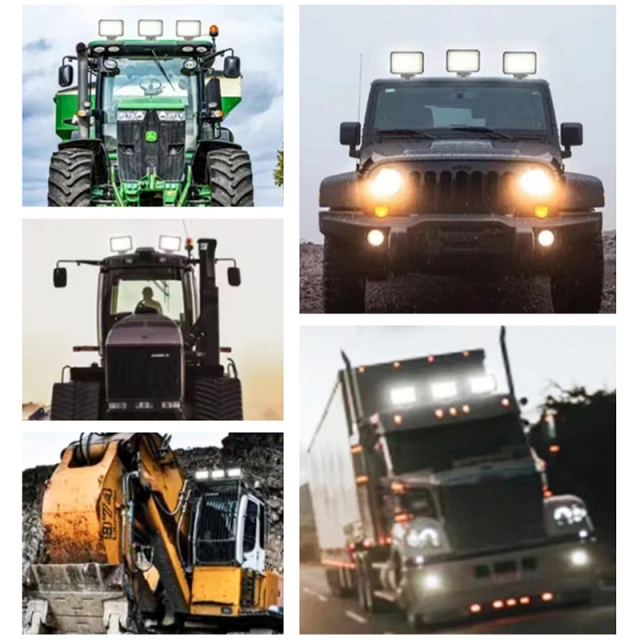
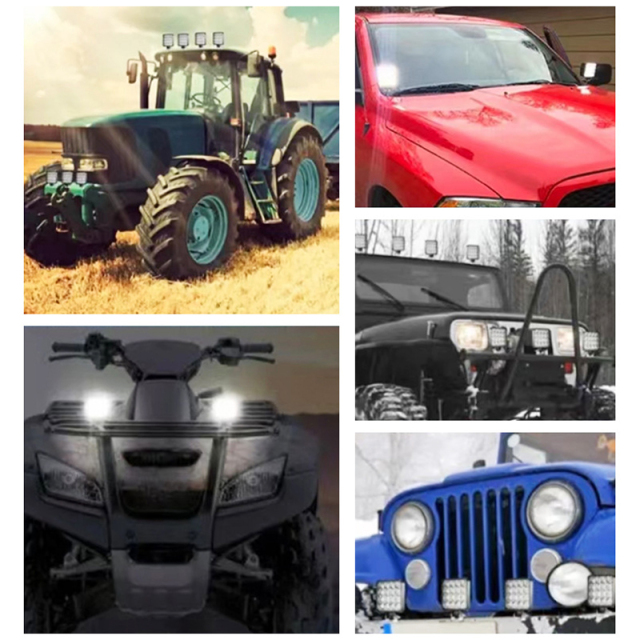
| Jeep, 4x4 and SUV | A-pillar or bull bar — reach past the headlights on unlit trails, the sort of throw people buy led driving lights for |
| Pickup and work truck | Front bumper or headache rack — the usual home for truck driving lights on long dark routes |
| ATV, UTV and side-by-side | Front rack or roll bar; the compact body fits tight mounting points |
| Tractor and implement | Side or rear of the cab, paired with a flood for close work |
| Trailer and flatbed | Rear corners as a reversing aid on a separate switch |
| Boat and yacht | Cabin roof or T-top for night running and deck work |
| Forklift and yard equipment | Overhead guard or mast bracket, aimed down the working aisle |
| Workshop and yard | Static mount on a wall or post for apron and driveway lighting |
Specifications
| Specification | Detail |
|---|
| Brand | JOPOWER |
| Housing | Die-cast aluminium, matte black |
| Lens | Clear spot lens |
| Light source | CREE LED chips |
| Beam type | Spot |
| Input voltage | 12-24V DC |
| Water and dust protection | IP67 |
| Rated life | 50,000 hours |
| Mounting | U-shaped bracket with slotted adjustment holes |
| Fixings | Mounting bolts and nuts included |
| Cable | Rear-exit cable fixed to the housing |
| Finish | Matte black housing, clear lens |
Customization & Branding
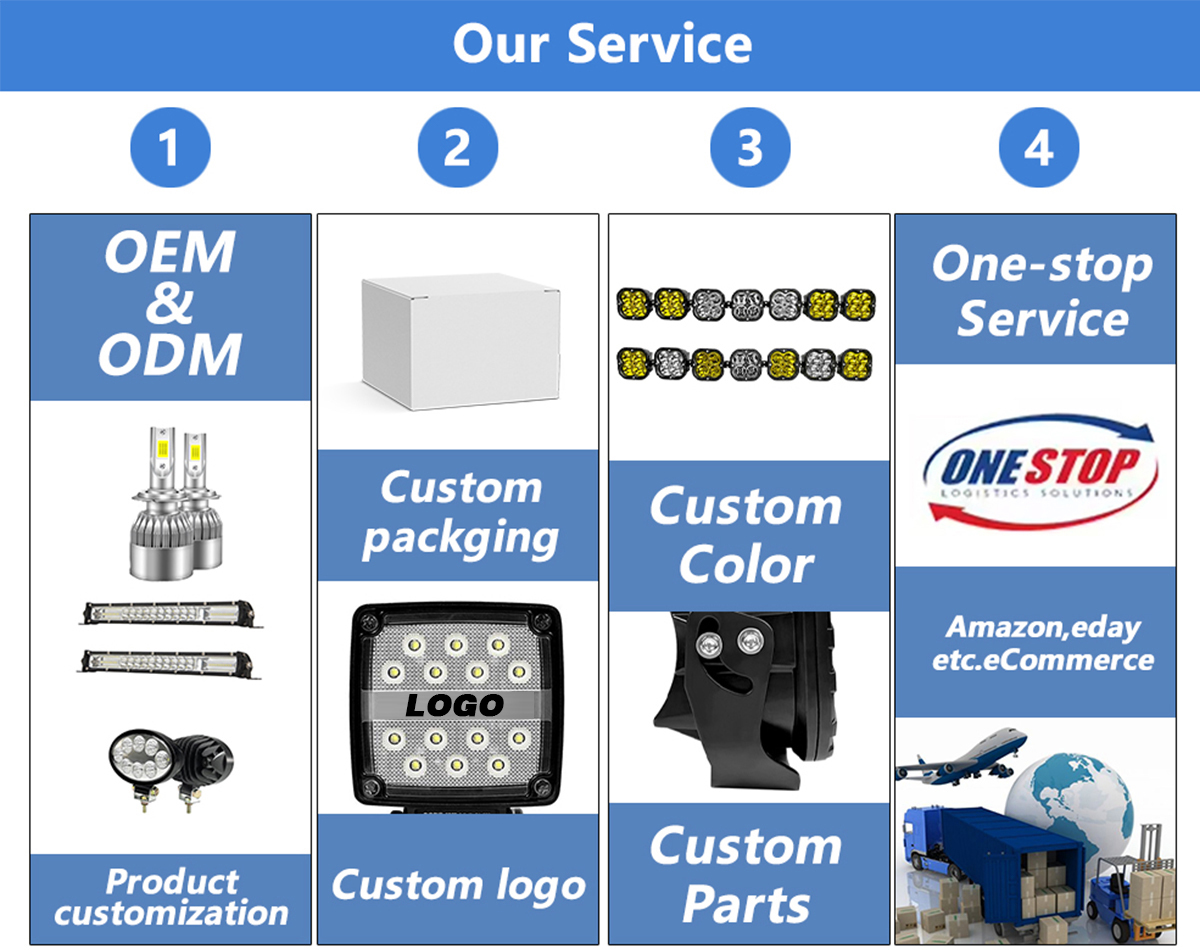
- Your logo, your carton. The housing side and the carton are the two places a brand actually shows: we print or etch your logo on the lamp and print your artwork on the box, so the part arrives shelf-ready instead of needing a sticker.
- Artwork that reproduces cleanly. Send a vector file and a colour reference; line work and solid type survive printing far better than gradients or photographs, and a quick proof avoids a reprint.
- Finish and detail matched to your sample. Housing finish, cable length and small fittings can be matched to a sample you send, which is how most custom off road lights programmes begin.
- Specification set to the job. Chip set, beam and voltage can be configured where a buyer has a specific vehicle or market in mind — bring the target and we will tell you what is realistic.
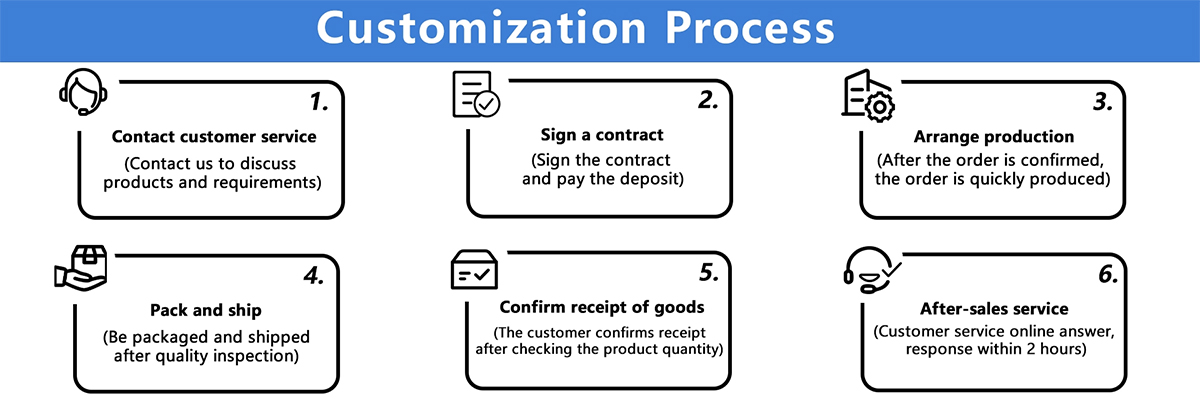
- Sample before the first batch. Every programme is signed off on a physical sample and approved artwork before production, so there is no argument later about what was agreed.
Ordering & Delivery
- Send the model, the quantity and the destination. Price, quantities and payment terms are quoted per order, so ask your sales contact to put the figures for your volume and market in writing.
- Confirm the details that change cost or lead time — customisation, packaging, mixed models on one order, and any certification or test documents your market asks for.
- Approve the sample and artwork if the order is branded. Only then does a custom off road lights run go into production.
- Plan the dispatch. Items in stock ship with 7-day fast shipping; branded runs and larger led driving lights for trucks orders are scheduled once the sample is signed off.
- Agree the packing. Pods travel in a plain white box as standard, with foam or a moulded insert around the housing; printed cartons come to your artwork, and mixed orders are usually consolidated.
- Combine the range. Pods, bars, whip lights and switch panels can travel on one order, which is how most off road led light bar suppliers keep a single reference across their whole lighting line.
- Agree what happens if something arrives wrong. Report it with photographs and the order reference, and ask your sales contact for the current warranty terms and defect procedure before you place a repeat order.
- Ask before you commit. Email Szvictory2005@163.com or message Paul on WhatsApp at +86 15362436281 with the vehicle types you sell into, and we will confirm the part and the terms that fit.
Scale & Supply Capability
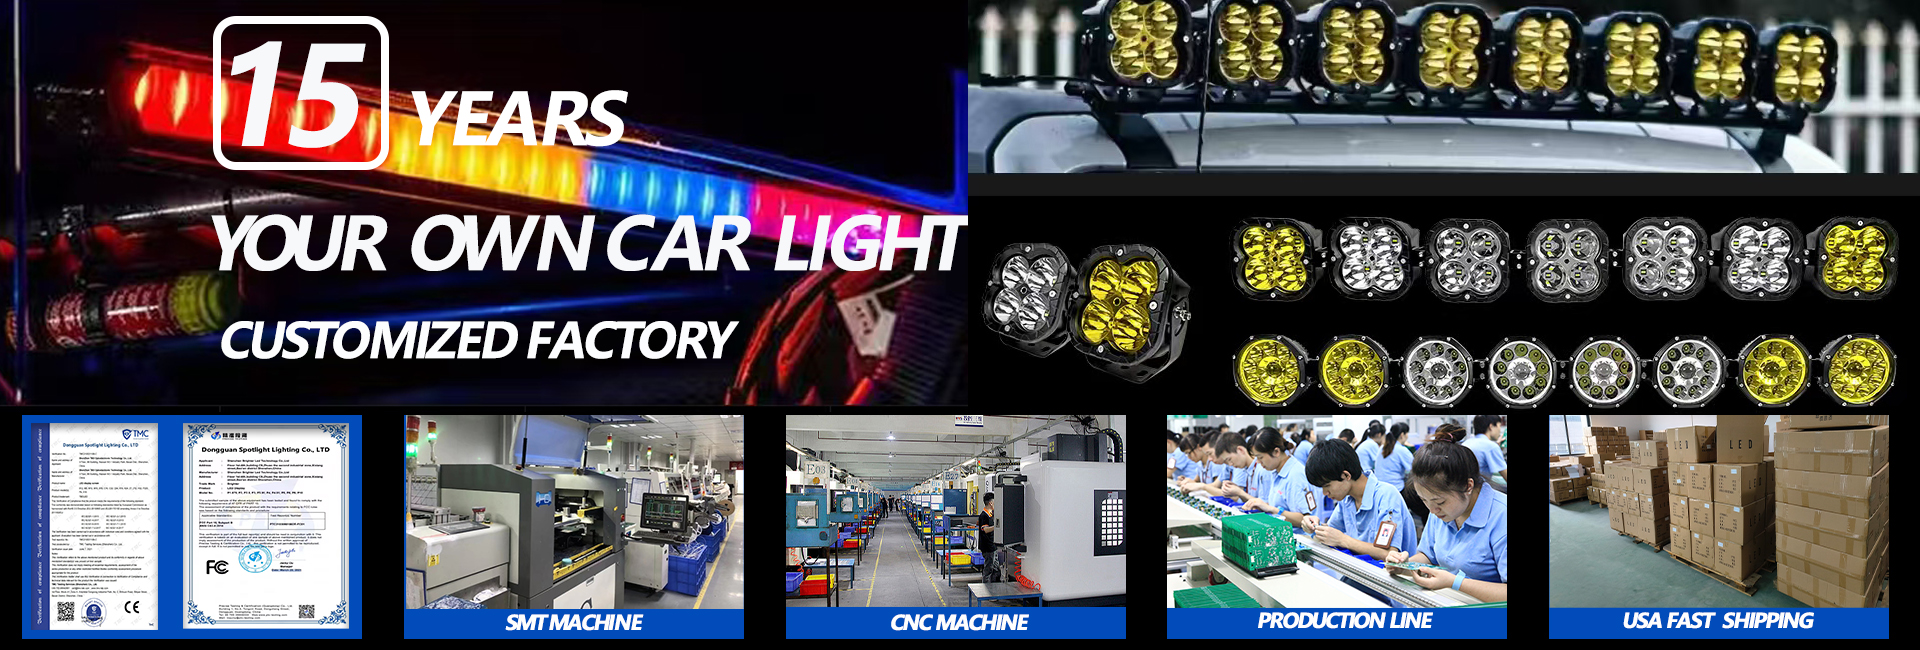
JOPOWER is the brand of our own factory in Dongguan, China, founded in 2010 and run by a team of 20–30 people with 15 years of vehicle lighting production behind them. We add 5–10 new styles every month, hold EU, CE, RoHS and US DOT certification, and put every unit through three full inspections before it leaves us. Because the designs are developed in-house, we can tailor specification, style, size, color, logo and packaging, and items in stock ship in as little as 7 days.
Chip and output verification The CREE LEDs are the parts named on the label, mounted on a circuit board that is screwed into the aluminium housing rather than pressed into a plastic carrier, which is what keeps the beam pattern from drifting after a season of rough roads. Every design is run in the factory's own laboratory before release: an overheat-protection check, a temperature cycle from -40 °C to +85 °C, salt spray, and water and dust testing against the IP67 rating. Finished lamps get an aging run and a beam check before packing, and the results stay on file against the design, so a run can be traced back if a buyer questions it later. If you want the question settled before a first order, ask for a sample and set it beside the pod you sell today; beam shape and build quality read far better side by side than on a datasheet. Documents that travel with the order The range is documented to CE, RoHS and US DOT as our factory states it. Copies can go out with your goods for your own file or for a marketplace listing, so ask at the quoting stage rather than after the goods have shipped. Road use, and who carries the decision Rules on auxiliary lighting differ from country to country and often turn on mounting position, beam aim and whether the lamp is wired to come on with the main beam. We make the lamp and supply the paperwork we hold; we do not certify it as road lighting for your market, and no factory can do that on a reseller's behalf. Listing a spot pod as off-road or auxiliary lighting, with the road-use judgment left to the vehicle owner, is how our trade customers keep their own listings clear of complaints. A high A-pillar or roof mount and a beam set above the horizon are usually what draws attention from an inspector or another driver. If a customer asks for a road-legal kit, tell us the market and the vehicle and we will say plainly what we can and cannot support. If something arrives wrong Send photographs, the order reference and the batch details to your sales contact. We check them against the inspection record for that run and settle the matter under the terms agreed on the order. Ask for the current warranty wording in writing before you publish it on your own listing.
FAQ
Can we sell this spot pod as road lighting in our market?
There is no single answer that travels. Rules for auxiliary led off road lights differ by country and often by mounting position, so check the requirement in your own market before you describe the lamp as road lighting. Many of our trade customers sell spot pods as off-road and auxiliary lighting and leave the road-use decision to the vehicle owner. If you need the compliance documentation we hold for the range to support your listing, ask your sales contact to send it with your order.
What else do we need to fit a pair?
The lamp comes with its U-bracket, bolts and nuts, and a cable fixed at the back. The vehicle side is a relay, an inline fuse, a switch and cable matched to the system. On a pair of led driving lights for trucks, keep the fuse close to the battery and use a relay rated for the combined load rather than running two pods straight off a dash switch. Tell us the vehicle and system voltage and we will confirm what we can supply with the order.
Will it work on a 24V machine as well as a 12V vehicle?
Yes. The lamp is rated for 12-24V DC, so one part number covers a 12V pickup and a 24V truck, excavator or yard machine. Current draw is lower on a 24V system for the same output, but the relay and fuse still have to be rated for the system, and it is worth checking that the machine's charging voltage stays inside the lamp's working range.
How does it compare with the round 4-inch lamps and the linkable bars in the same range?
The round 4-inch lamps are flood units: wide, even light close to the vehicle, well suited to a fog position or around a work area. This square pod is a spot, so it trades width for reach — it is the one to pick when the driver needs to read the road further ahead. The linkable cube bars are a different idea again: a row of cubes joined into a bar for vehicles that need a long, standardised light across a fleet.
Can it be mounted on a plastic bumper or a roof rack?
The bracket needs a solid structure to bolt to. On a plastic bumper cover, mount through the steel reinforcement behind it or use a dedicated bracket rather than the cover alone. A roof rack needs a suitable clamp or plate under the bracket so the load is spread. On 4x4 off-road lights builds, most installers use the bull bar or A-pillar because the mount is rigid and the aim stays where it was set.
Is the CREE chip genuine, and is the output checked before shipping?
The CREE LEDs are fitted as named, mounted on a board screwed into the housing. Finished lamps go through beam checks and an aging run before packing, and the results are part of what the factory keeps on file for the design. If you want reassurance before a first order, ask for a sample and compare it side by side with the pod you sell today.