Product Overview
This is a 4-inch round auxiliary lamp for the front of a road vehicle — the position most drivers know as the fog-light spot, set low in the bumper or in the recess the factory left for one. It replaces a dull or failed factory fog lamp, adds a second pair to a truck that never had one, and gives a workshop an upgrade to offer the customer who complains that the standard lights stop at the edge of the bonnet. For a shop that already sells off road lights, it is the practical, year-round line rather than the showpiece.
The round body is deliberate. A circular housing drops into a round fog-light recess, sits flat on a tubular bumper and bolts to a light tab without an adapter plate, and the beam leaves the lens in the same round shape, so there are no dark corners at the edge of the spread. Buyers who choose round offroad lights over square pods tend to say the same two things: the lamp looks as though it came with the vehicle, and the fitting is quicker.
Day to day it does two jobs. In the low fog position it lights the road surface without throwing glare back at the driver; mounted higher on a bumper it becomes a work light for a track, a field entrance or an unlit yard. Counters that already sell led driving lights to 4x4 owners put this model forward as the sensible second pair — the ones a customer switches on when the weather turns.
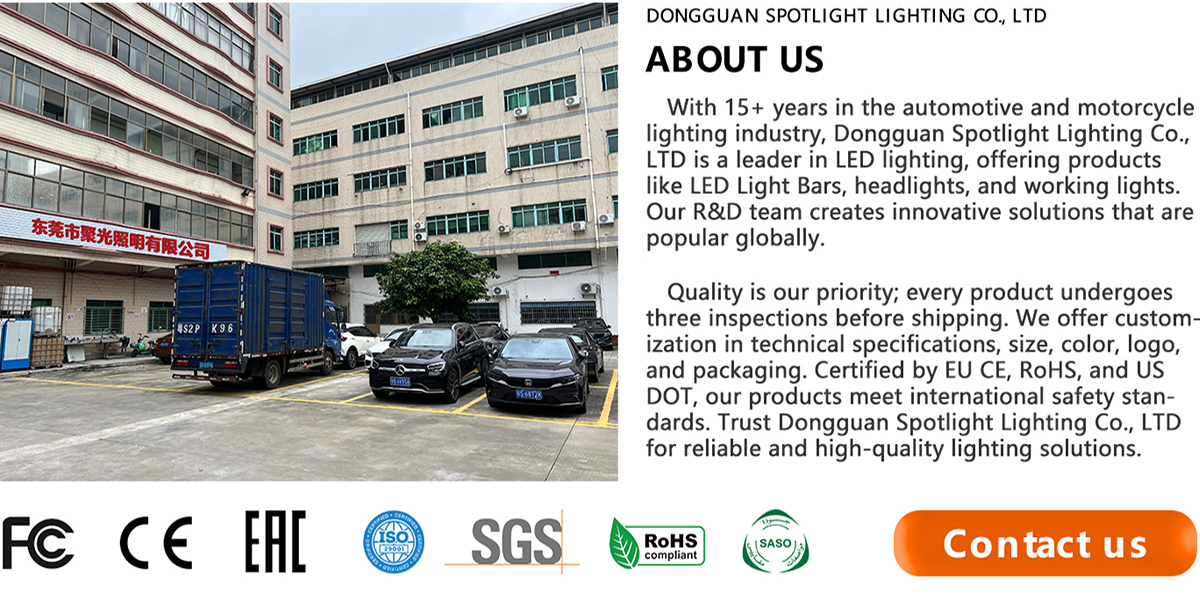
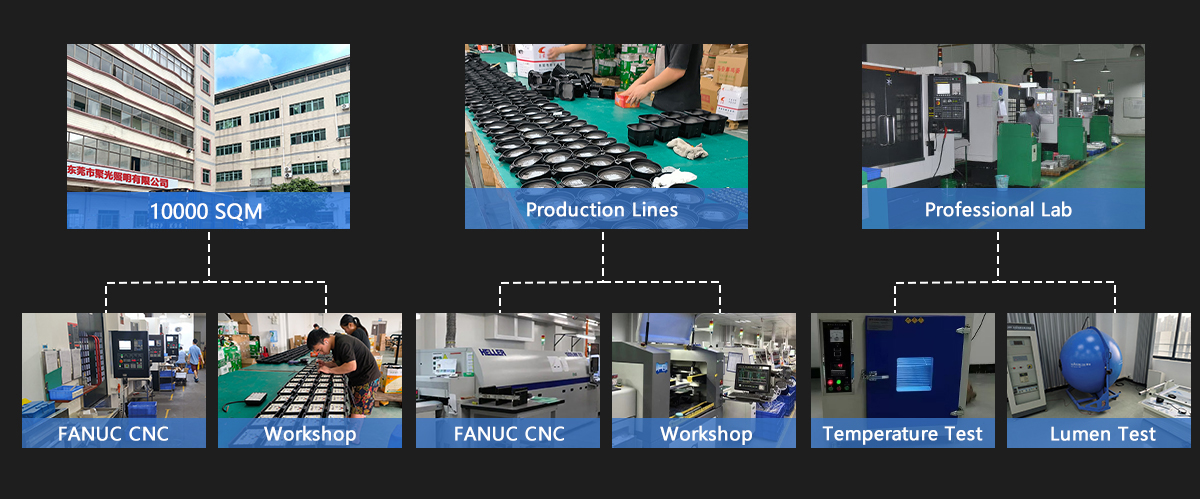
Every unit comes off our own production line in Dongguan. The factory behind it is one of the established LED light bar manufacturers supplying the trade, and the sealing method and inspection routine used on those bars carry straight over to this round flood lamp.
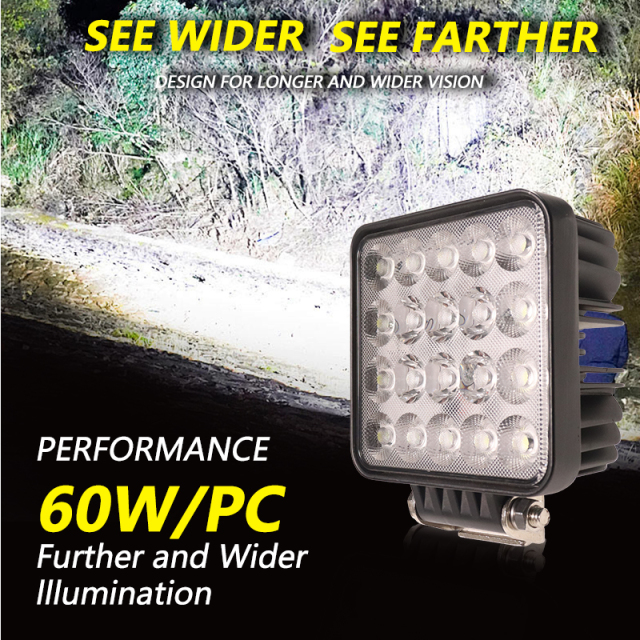
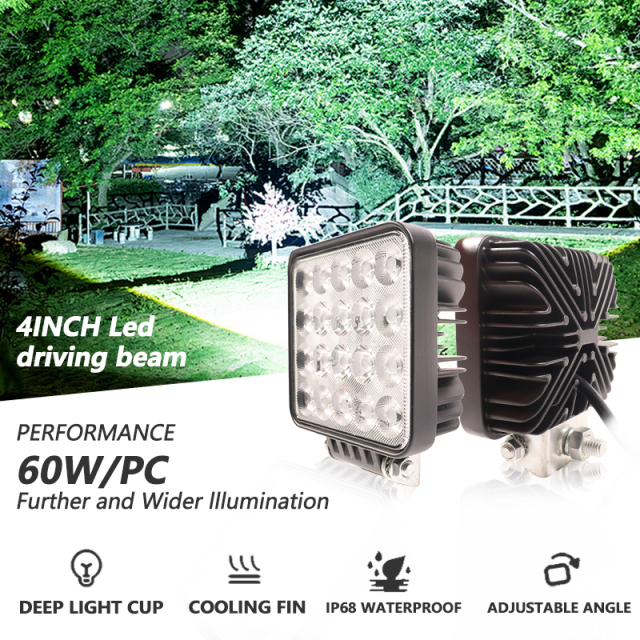
- Flood optics, not a pencil beam. A progressive light distribution spreads the beam wide close to the vehicle and softer further out, so the driver sees the verge, the road edge and anything stepping into it instead of one bright spot down the middle. - One part number for mixed fleets. The input range spans passenger-car systems and heavy-equipment systems, so a parts counter or a service van can stock a single lamp instead of two. - Sealed, not just splash-proof. The lens is bonded into the housing and the cable entry is closed, so dust, sand, rain and jet wash stay outside. Condensation behind the lens is the usual reason a budget lamp fails its first winter; this one is built to keep it out. - Aim it without shims. The bracket pivots on a bolt and nut, so the beam can be dropped for wet roads or lifted for a track without bending anything or packing washers behind the mount. - A lamp you fit once. The life rating is a service figure rather than a marketing one, and the sealed housing and lens choice are what make it hold. That is why shops stock it instead of apologising for it. - Lenses that take hits. High-transmission polymers or tempered glass, matched to how the lamp will be used — the same approach we take across the LED off-road lights range. - A sensible second pair. Most buyers add these alongside a long-throw lamp rather than instead of one: the flood does the road surface, the spot does the distance. That pairing is where most led driving lights buyers end up.
Housing, Lens & Sealing
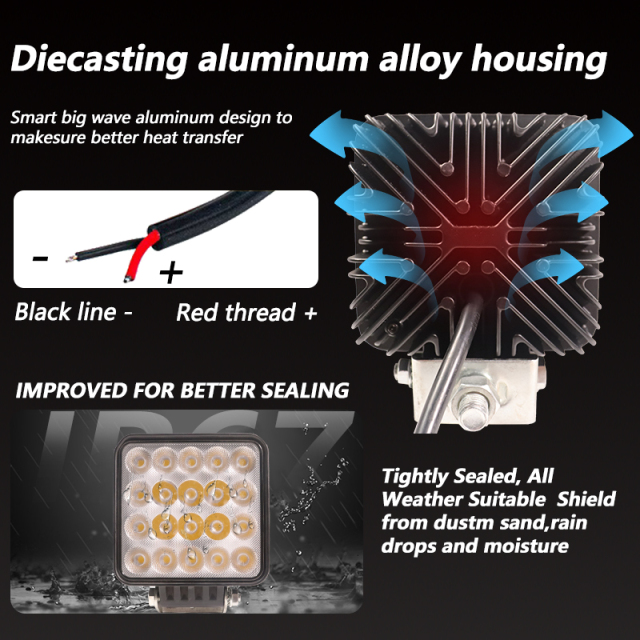
A round housing is harder to seal than a square one: the lens is curved, the wall is thinner, and there is less flat surface for a gasket to sit on. That is where the money goes. The body is die-cast aluminum rather than pressed steel or moulded plastic, machined so the lens seats evenly all the way around, and the cable leaves through a closed entry rather than an open hole. It is the difference between led driving lights that survive three winters and ones that fog up in the first.
Inside, the individual LEDs sit on a circuit board that is screwed down into the housing. Metal-to-metal contact matters here, because heat leaves the board through the screws and the housing wall instead of sitting in a pocket of trapped air. The outside is finned to add surface area, so the whole lamp works as one heat sink, and overheat protection is built into the board. You notice it on a long night, when output stays flat instead of dimming as the lamp warms up.
The lens is where a lot of led off-road lights are cheapened. Ours are made from high-transmission polymers or from tempered glass, chosen for how the lamp will be used. A polymer lens takes a stone strike and flexes; tempered glass resists scratching through years of grit and brush. Either way, the light that leaves the LED reaches the road instead of being lost in a yellowed, scratched cover.
The sealing method runs across our light bars too, and that is where it was learned. As one of the LED light bar manufacturers supplying workshops and distributors, we have spent years watching where water gets into a housing and closing that path on the drawing board rather than in the field. Bodies are finished to cope with road salt and coastal air, and batches go through temperature and salt-spray checks in our own laboratory before they are packed.
Mounting & Wiring
- Choose the position before you drill or bolt anything. A factory fog recess, bumper face, bullbar or light tab all work; what matters is flat metal behind the bracket and enough clearance for the cable to leave the housing without kinking. The footprint matches what most 4x4 off-road lights use, so an existing pair can often be swapped without new holes.
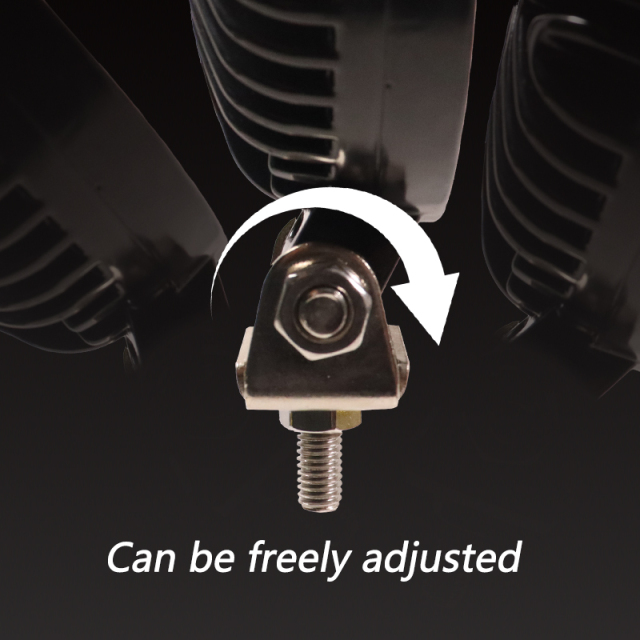
- Set the bracket angle loosely first. The pivot lets the housing tilt through its arc, so leave the bolt finger-tight and the lamp can still be moved once it is on the vehicle.
- Bolt the bracket down, then check the housing clears the bumper trim through the full tilt. Trim contact is what cracks a lens on the first rough road.
- Aim it on level ground at dusk. A flood lamp wants to sit low and wide: the bright part of the pattern should land a short way ahead of the vehicle, not up into oncoming traffic or into a mirror.
- Wire it through the plug-and-play connector. Red is positive, black is negative and ground. If the vehicle already has a fog-light circuit, the connector plugs into it; if it does not, run a relay and an inline fuse from the battery rather than tapping a live wire. The lead is the same two-wire arrangement we use across the LED off-road lights range, so a replacement stays a plug-in job.
- Match the lamp to the system before connecting. These run on 12V and 24V systems, so a 24V truck or tractor needs no converter — but check the vehicle first, because a reversed connection is the most common way a new lamp gets blamed for a fault it did not cause.
- Test both lamps, then torque everything down. Switch on, walk the pattern on the ground, and tighten the pivot and bracket bolts once the aim is right. A lamp that shifts on a corrugated road will not hold its aim for long.
Road Legality & Aiming
This is the question that stops a sale at the counter, so it is worth answering plainly: we supply the lamp, and where it may be used on a public road is decided by the rules of your country and by how the lamp is fitted. What we can put in your hands is product-level conformity — the CE, RoHS and US DOT certification our factory holds for its lighting — rather than a type approval for a particular vehicle or a permit for a particular market. Those two things are settled by your vehicle authority, not by a lamp supplier, and any supplier who signs them off for you is guessing.
What actually decides whether an auxiliary lamp passes an inspection is mostly position and wiring. A matched pair set low in the factory fog recesses, aimed down at the road surface and switched through a relay from the main beam or a separate dash switch is the arrangement most markets accept. A lamp mounted on the roof, the A-pillar or above the bonnet line is normally treated as off-road or work-site lighting, and in many countries it has to be covered or isolated for road use. Height, aim, matching pairs and the switch that controls them are what an inspector looks at first, and those details belong to the fitting, not to the lamp.
That is also why we do not print "road legal" on the box. The rules differ from country to country, and they differ inside the markets we ship to most — from Canada and the US through Mexico and Guatemala to the Philippines, Qatar and Saudi Arabia — so the safe answer is always the local one. Ask us for the certification documents we hold, then take them, with the mounting position, to your inspection station or vehicle authority. Resellers should follow the same line: describe what the lamp is and what it is certified to, and let the customer confirm what their vehicle and their road allow.
Aiming belongs in the same conversation, because a badly aimed lamp is the one that gets complained about. Park on level ground at dusk, loosen the pivot, and set the bright part of the flood pattern a short way ahead of the vehicle and low, never level with the horizon and never into oncoming traffic. Wiring through a relay with its own fuse and a main-beam trigger also means a pair of auxiliary off road lights cannot be left on against traffic by mistake — the fault an inspector is most likely to find.
Applications
- Fog and wet-road driving. Low in the bumper of a car, van or pickup, the flood pattern lights the road surface in front of the vehicle rather than the air in front of it — which is the job off road lights are bought for when spray from a truck ahead turns the tarmac white.
- 4x4 and pickup builds. Bullbar, bumper or a tab under the headlight: the round body suits the auxiliary positions 4x4 off-road lights are normally fitted to, and the pivoting bracket lets the beam be re-aimed once the suspension has settled.
- Trucks, trailers and yard work. Bolted to a rear bumper or a trailer frame, a pair gives a driver enough light to reverse, check a coupling or walk a load at night without holding a torch.
- Tractors, forestry equipment and combines. On 24V machines the lamp needs no converter, and the sealed housing copes with the dust, chaff and wash-down that finish off an unsealed light in a season.
- ATVs, UTVs and golf carts. The compact body and metal housing stand up to the vibration and mud these machines live in, and at the speeds they travel a wide spread is more use than a long spot.
- Resellers building their own line. Shops assembling a custom off road lights range for their customers use this as the entry pair, because it fits the vehicles their customers actually drive and it does not come back as a leak.
Specifications
| Specification | Detail |
|---|
| Brand | JOPOWER |
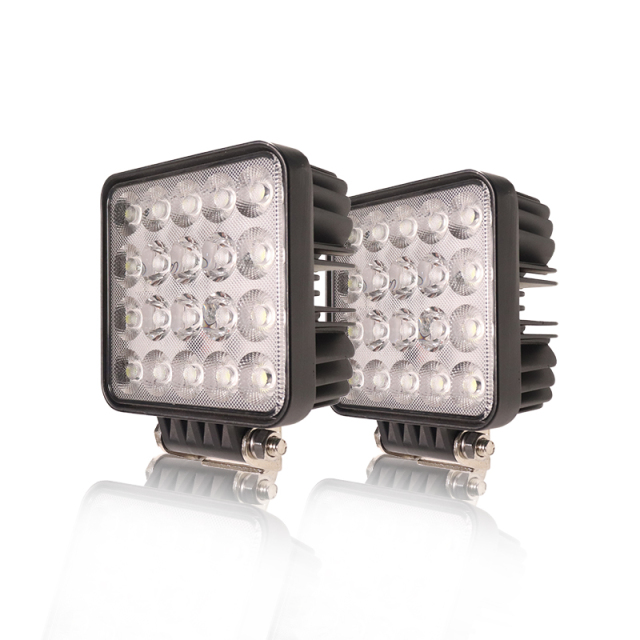
| Product type | 4-inch round auxiliary flood light |
| Beam pattern | Flood, progressive wide distribution |
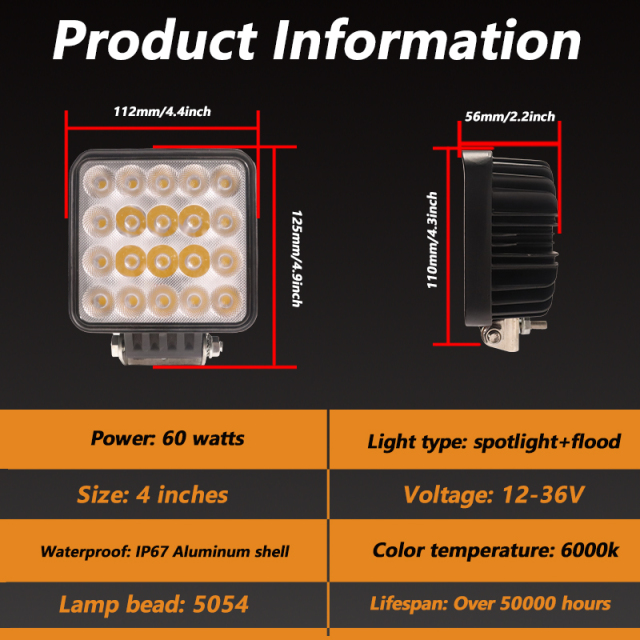
| Voltage | 12-24V DC |
| Waterproof rating | IP67 |
| Housing | Die-cast aluminum with cooling fins |
| Lens | High-transmission polymer or tempered glass |
| Mounting | Adjustable-angle bracket with bolt and nut hardware |
| Connection | Plug-and-play wiring connector |
| Light colour | White |
| Operating temperature | -40 °C to +85 °C (-40 °F to +185 °F) |
| Rated lifespan | 50,000 hours |
Cleaning & Seal Care
- Let the lamp cool, then wash with warm water, a soft sponge and a mild car shampoo. That lifts road film, mud and insects without touching the seal, and a 4-inch lens does not need a pressure jet to come clean.
- If you use a pressure washer anyway, keep the nozzle off the lens edge, the joint line and the cable entry. Stand back and use a wide fan at an angle rather than a straight jet into the gap where the lens meets the housing — that gap is exactly where water is forced past a seal.
- Keep solvents away. Brake cleaner, petrol, tar remover and abrasive metal polish attack the lens surface and leave it cloudy, and a cloudy lens costs more light than dirt ever did. Wash the aluminum housing with the same shampoo and a soft brush.
- Rinse the cooling fins properly. Salt and mud pack in between them and hold moisture against the housing, so a rinse and a wipe with a cloth does more for long-term condition than any dressing or spray.
- Dry the cable entry and the connector after washing, and do not leave the connector face sitting in a puddle or a wet tray.
- Check the lens at the end of a muddy or salty season. A thin film of condensation that clears once the lamp warms up is not the same as water beading or pooling behind the lens. If water stays, stop using the lamp and speak to us before the next trip rather than after it — that is what the warranty conversation is for.
- Look at the pivot and bracket bolts at the same time. A lamp can take a knock, keep working perfectly and still be pointing at the sky, so re-check the aim on level ground after any impact or a long stretch of rough road.
- Store a spare or a seasonal set clean, dry and indoors, with the cable coiled loosely rather than folded tight. A damp connector left on a shelf for months is what fails first when the lamp goes back on the vehicle — and the sealed housing that lets these round offroad lights survive repeated wash-downs is only as good as the care around the plug.
Ordering & Delivery
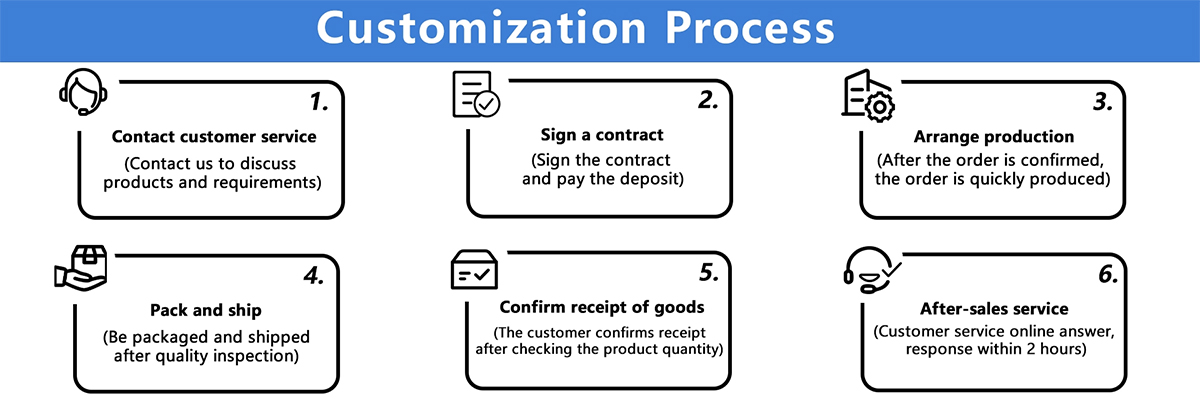
- Send the vehicle or machine the lamp is going on, plus the quantity you need. Voltage, mounting position and order size decide packing and pricing, so a short list is enough for a quoted order.
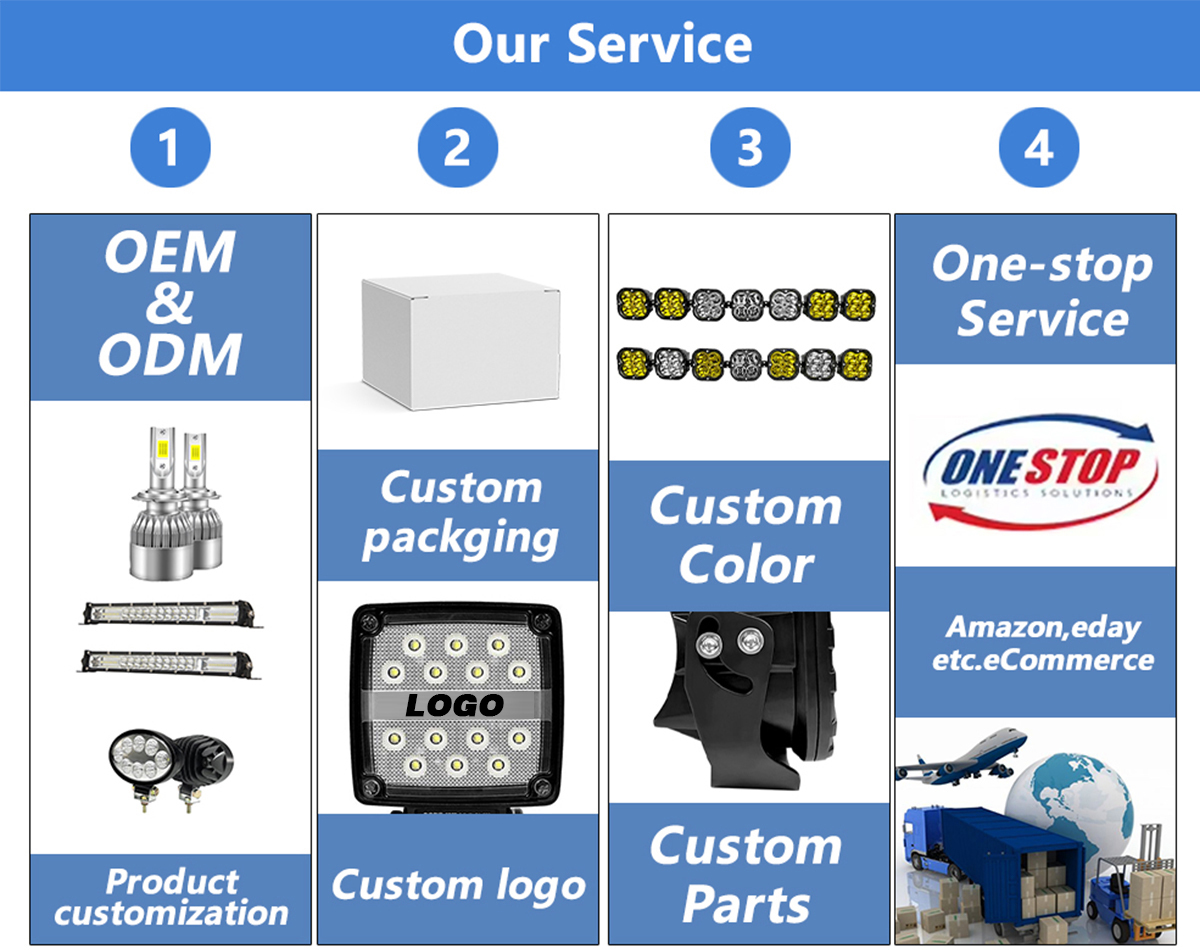
- Confirm the branding. Housing finish, lens, logo on the lamp or on the box, and your own packaging artwork are all handled in-house — that is how most custom off road lights orders start.
- We schedule the batch on the same lines that build our light bars. As one of the LED light bar manufacturers supplying distributors and repair chains, we can consolidate bars, work lights and round lamps into one shipment instead of splitting the order between suppliers.
- In-stock lines move on our 7-day fast shipping schedule. Made-to-order branding adds time on top of that, and your sales contact will confirm the date before the order is released.
- Cartons are marked to your instructions so a multi-line delivery can be checked in quickly at the counter or in the workshop.
- If you want to see the beam before committing to a batch, ask your sales contact about sample availability and the current terms. Quotes, catalogues and order confirmations: Szvictory2005@163.com, +86 15362436281 (Paul).
Scale & Supply Capability
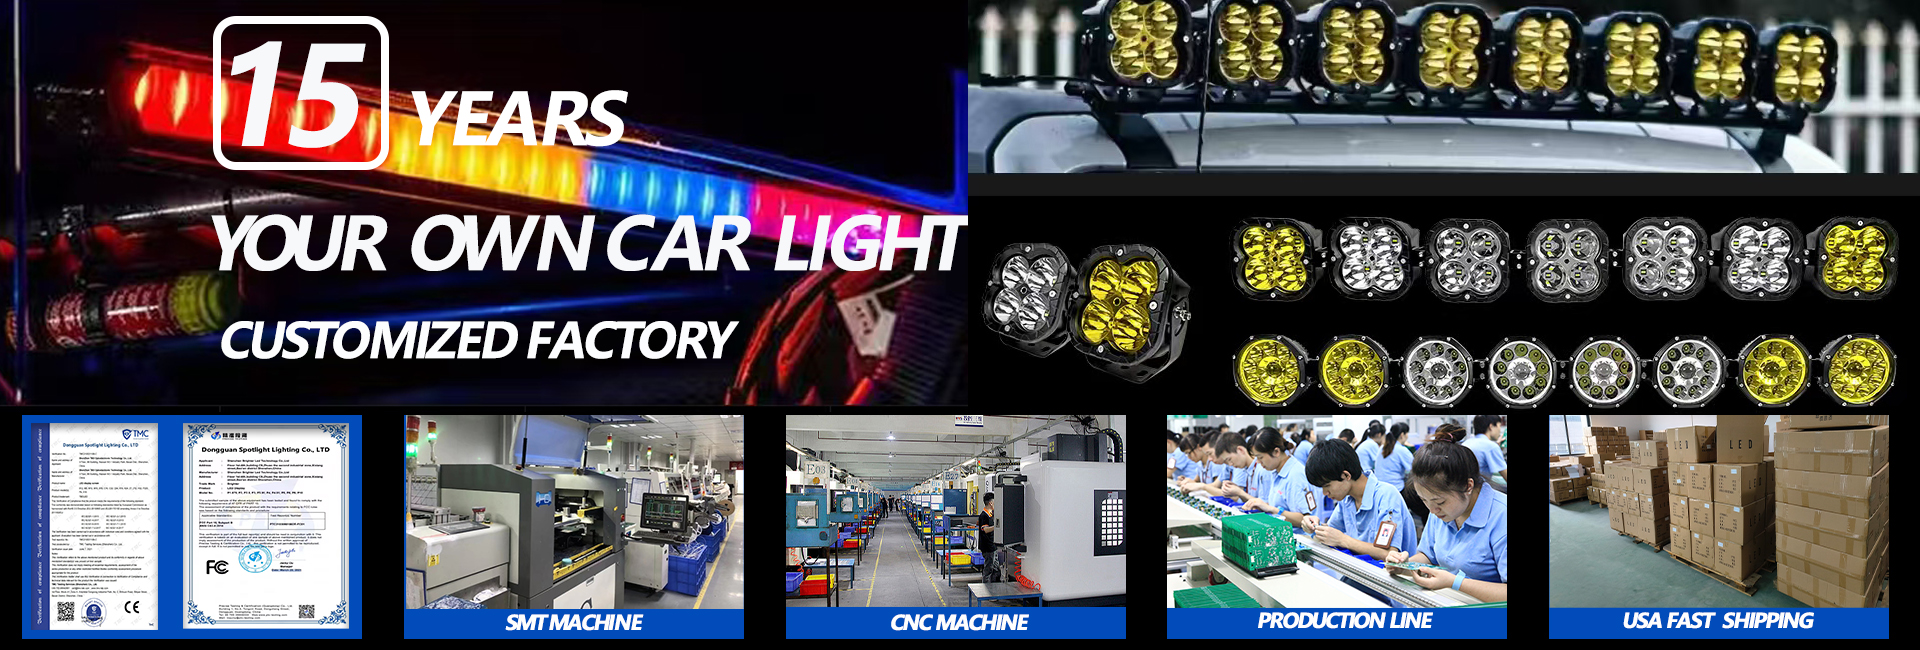
JOPOWER is the brand of our own factory in Dongguan, China, founded in 2010 and run by a team of 20–30 people with 15 years of vehicle lighting production behind them. We add 5–10 new styles every month, hold EU, CE, RoHS and US DOT certification, and put every unit through three full inspections before it leaves us. Because the designs are developed in-house, we can tailor specification, style, size, color, logo and packaging, and items in stock ship in as little as 7 days.
FAQ
Should I choose these or a spot lamp for the front of my vehicle?
They do different jobs, and a lot of vehicles end up with both. A flood pattern throws light wide across the near and middle distance, which is what helps in fog, heavy rain, dust and spray; a spot pattern reaches further down the road but leaves the edges darker. If you can only fit one pair, take the flood for wet-weather driving and add a spot later for open trails. Most off road lights orders from us go out as that pairing.
Why fit round offroad lights rather than square pods?
Round housings suit round fog-light recesses and tubular bumpers, and the beam leaves the lens in a circular shape without dark corners. A 4-inch round body also looks like original equipment on older trucks and 4x4s, where a square pod tends to read as an add-on. Square pods win when you want a tight block of light on a flat bracket; round wins when the mounting point is already circular.
Are these fog lights, LED driving lights, or both?
Both, depending on where you mount them. Low in the bumper the lamp works as a fog light: the flood pattern lights the road surface without bouncing glare back at the driver. Mounted higher, on a bullbar or a light tab, the same lamp throws a usable spread down a track or across a yard. Height and aim do most of the work, and local rules on auxiliary lighting differ by country, so check what is allowed on the road before you fix the position.
Will they fit a bullbar or a light bar as well as the factory fog pocket?
They will. The bracket bolts to any flat metal tab, and the pivot lets the housing tilt so the beam can be set level from a bullbar or a bar-mounted tab. What to check before ordering is clearance: room behind the lamp for the cable to leave without kinking, and space in front for the beam to clear the bumper edge. That footprint is the same one most 4x4 off-road lights use, so a swap is usually straightforward.
Can we have our own brand on the lamp and the packaging?
You can. Logo on the housing, a different housing finish, lens choice and your own packaging artwork are all handled in-house, which is where most custom off road lights orders start. Send the artwork and the model you want, and your sales contact will confirm what is possible and how it affects the schedule.
How do I clean them without damaging the seals?
Warm water and a soft cloth do almost everything. Avoid pointing a high-pressure jet straight at the lens edge or the cable entry, and keep solvents and abrasive polish off the lens, because they cloud it and dull the output over time. After a muddy season, look for water behind the lens; if any appears, check that the cable entry is still tight and speak to us before the next trip rather than after it.